


Meticulous initial assessment of Mercedes carbon fiber trim repairs identifies cracks, chips, and delaminations. Proper tools like sandpaper, de-greaser, and matching clear coat ensure aesthetic appeal and structural integrity. Skilled technicians cut, shape, install new trim, and polish for a seamless, factory-like finish, maintaining the vehicle's elegant appearance.
“Uncover the meticulous process of Mercedes carbon fiber trim repair, a skill that combines precision and expertise. This comprehensive guide takes you through the steps, from assessing damage on your vehicle’s elegant carbon fiber panels to the final installation and final touches. Learn how to gather the right materials, prepare the surface, and execute the repair with care, ensuring your Mercedes retains its pristine aesthetic. Discover the secrets behind this Mercedes carbon fiber trim repair technique, perfect for both professionals and enthusiasts.”
- Assessing Damage and Gathering Materials
- Preparation and Surface Treatment
- Installation and Final Touches
Assessing Damage and Gathering Materials

When addressing Mercedes carbon fiber trim repair, the first step is a thorough assessment of the damage. Carbon fiber, known for its lightweight strength, requires meticulous care during repairs to maintain its aesthetic appeal and structural integrity. Inspecting the damaged area closely helps identify cracks, chips, or delaminations. This initial evaluation guides the selection of appropriate repair methods and materials.
Gathering the right materials is crucial for successful Mercedes carbon fiber trim repair. Besides specialized carbon fiber patches and resins, auto maintenance experts may also need fine sandpaper, a de-greaser, and a clear coat to match the vehicle’s original finish. Proper preparation ensures that the repair not only looks seamless but also enhances the overall quality of the auto repair services provided.
Preparation and Surface Treatment
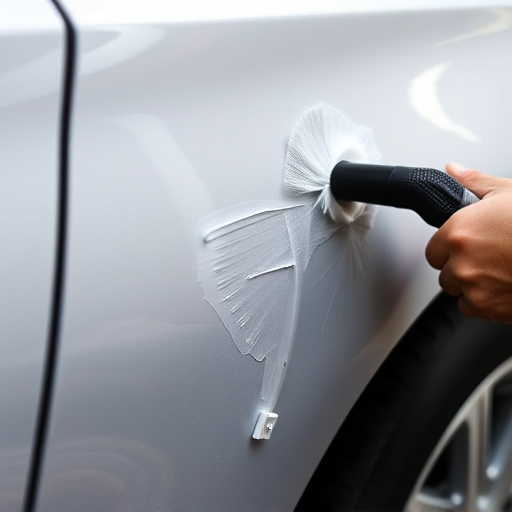
The preparation phase is a meticulous process that demands precision to ensure optimal results for Mercedes carbon fiber trim repair. The damaged area must be thoroughly cleaned and deburred to remove any debris, dirt, or previous repair residue. This step is crucial as it ensures a clean canvas for the subsequent treatments. After cleaning, the surface is lightly sanded to create a rough texture that allows better adhesion for the repair compounds.
Surface treatment plays a pivotal role in restoring the aesthetic appeal of the carbon fiber trim. A specialized cleaner is applied to degrease and decontaminate the area, removing any residues or contaminants that could hinder the repair process. This is followed by priming, where a primer specifically designed for carbon fiber is coated to create a bond between the repair material and the original surface. Priming ensures a seamless finish, making it an essential step in collision damage repair for Mercedes vehicles with carbon fiber trim.
Installation and Final Touches

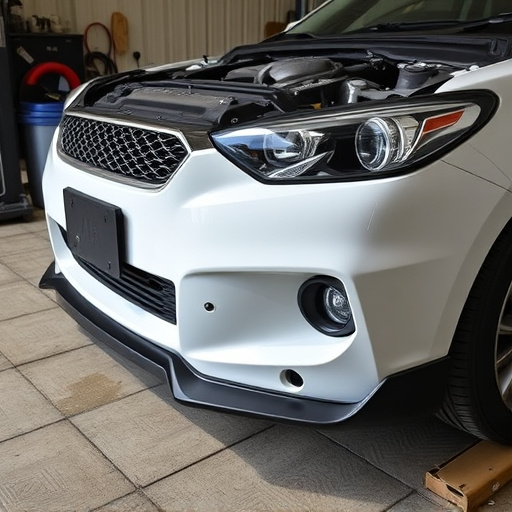
After meticulously preparing the damaged area, the actual Mercedes carbon fiber trim repair process begins with precise cutting and shaping of the replacement piece to match the vehicle’s exact specifications. This ensures a seamless fit, crucial for maintaining the aesthetic appeal of the vehicle. Skilled technicians use specialized tools to install the new trim, ensuring it aligns perfectly with surrounding panels.
Once securely fastened, final touches are applied, including polishing to achieve a factory-like finish. The attention to detail in this stage is vital to conceal any traces of repair, making the repaired area indistinguishable from the original vehicle dent repair or vehicle body repair. This meticulous approach guarantees that the vehicle’s interior retains its elegant and sophisticated appearance, showcasing why proper vehicle paint repair techniques are essential for luxury brands like Mercedes.
Mercedes carbon fiber trim repair is a meticulous process that, when completed correctly, can restore your vehicle’s interior to its original, sleek state. By following these steps—assessing damage, gathering materials, preparing and treating the surface, and installing with final touches—you can achieve a professional-level repair that enhances both aesthetics and value. Whether you’re a seasoned auto enthusiast or a first-time DIYer, understanding the process empowers you to tackle this challenging yet rewarding task.