


To repair Mercedes carbon fiber trim, assess damage (scratches, dents, cracks), gather tools (sandpaper, body filler, clear coat, applicators, brushes, car scratch kit), and ensure proper materials for the repair's scope. Follow a DIY guide emphasizing safety, preparing the area with primer, cutting/shaping tape/sheet to match damage, applying resin, sanding/polishing for a finish. Maintain trim post-repair with regular washing, quarterly waxing, and routine inspections for early intervention on damage.
Can you tackle a DIY Mercedes carbon fiber trim repair? Absolutely! This comprehensive guide walks you through assessing damage, gathering materials, and replacing your Mercedes’ sleek carbon fiber trim. From understanding the unique challenges of this material to tips for long-term maintenance, we’ve got you covered. Ready to restore your vehicle’s premium look? Let’s dive into the step-by-step process and ensure a successful repair.
- Assessing Damage and Gathering Materials for Mercedes Carbon Fiber Trim Repair
- Step-by-Step Guide to DIY Mercedes Carbon Fiber Trim Replacement
- Tips and Precautions for Successful Long-Term Maintenance of Repaired Carbon Fiber Trim
Assessing Damage and Gathering Materials for Mercedes Carbon Fiber Trim Repair

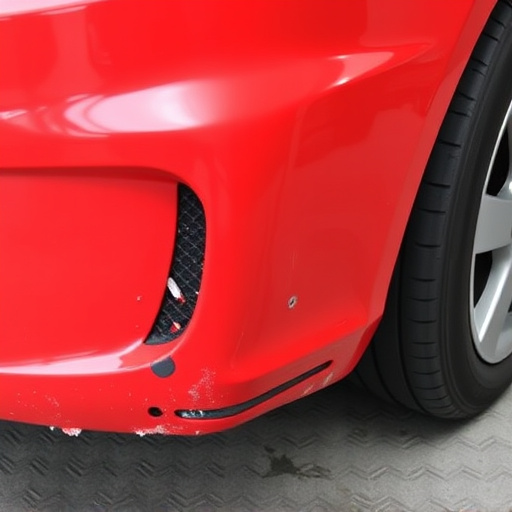
When it comes to repairing Mercedes carbon fiber trim, the first step is a thorough assessment of the damage. Start by inspecting the affected area closely. Carbon fiber is durable but can sustain various types of damage, from small scratches and dents to larger cracks or breaks. Look for any visible imperfections or areas where the carbon fiber weave is exposed. This initial evaluation will help determine the extent of the repair needed.
For a successful DIY Mercedes carbon fiber trim repair, gathering the right materials is crucial. You’ll require specific tools and supplies designed for carbon fiber work. This includes a fine-grit sandpaper (both coarse and fine), a suitable body filler compound compatible with carbon fiber, a clear coat or touch-up paint that matches your car’s finish, and various applicators and brushes. Additionally, consider using a car scratch repair kit to address any minor scratches. Remember, ensuring you have the right materials is key to achieving professional results, whether it’s a simple collision repair or more complex car repair services.
Step-by-Step Guide to DIY Mercedes Carbon Fiber Trim Replacement

Repairing Mercedes carbon fiber trim yourself can be a cost-effective solution for minor damages and scratches, saving you the expense of visiting a collision repair shop. Here’s a step-by-step guide to help you navigate this DIY project:
1. Safety First: Put on safety goggles to protect your eyes from any debris or chemicals used in the process. Ensure you work in a well-ventilated area, especially if using aerosol products. Gather all necessary tools and materials, including carbon fiber tape or sheet, resin, hardener, sandpaper (grit 400-800), and a clean cloth.
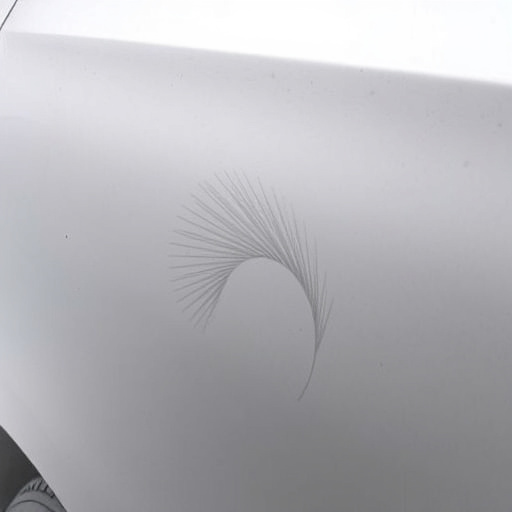
2. Inspect the Damage: Carefully examine the affected area for cracks, chips, or scratches. If there are any deep gouges, it might be best to consult a professional as these may require more advanced techniques beyond DIY capabilities. For minor damages, use fine sandpaper to gently buff the surface, ensuring the carbon fiber substrate is clean and free of any loose debris.
3. Prepare the Area: Apply a thin layer of primer to the repaired area, following the manufacturer’s instructions for curing time. This step ensures better adhesion for the subsequent repair materials.
4. Cut and Shape Carbon Fiber: Measure and cut a piece of carbon fiber tape or sheet to match the damaged area. If using tape, apply it firmly over the repair site, trimming excess with sharp scissors or a utility knife. For sheets, carefully shape and mold the material to fit, securing it in place with temporary tape until the resin hardens.
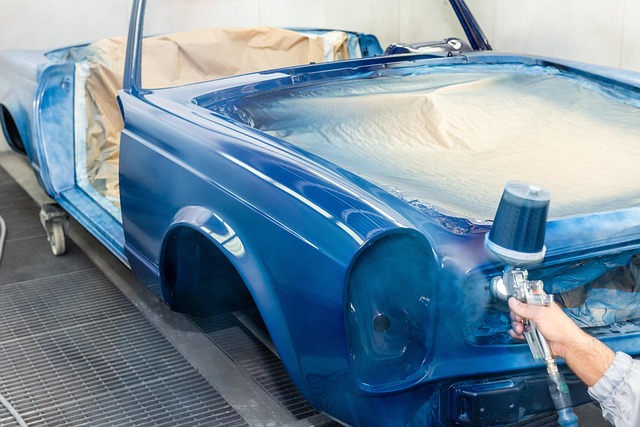
5. Resin Application: Mix equal parts of resin and hardener according to the product’s instructions. Apply a generous amount of the mixture over the carbon fiber, making sure it fills all gaps and covers the entire damaged area. Allow it to set for the recommended time.
6. Sand and Polish: Once the resin has hardened, sand the repair area with progressively finer grits until smooth. Remove any residual tape or marks. Finally, polish the surface with a microfiber cloth to achieve a mirror-like finish, matching the surrounding carbon fiber trim.
Tips and Precautions for Successful Long-Term Maintenance of Repaired Carbon Fiber Trim

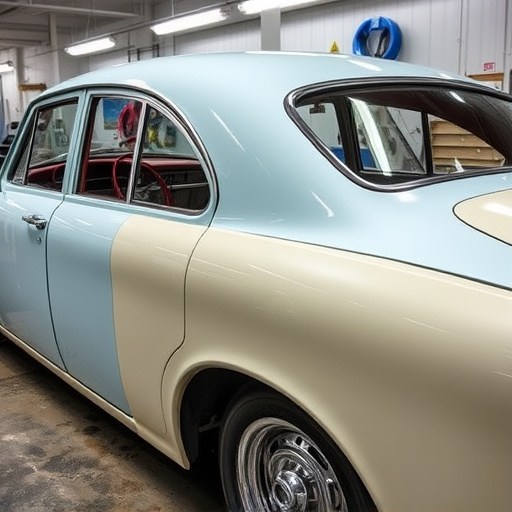
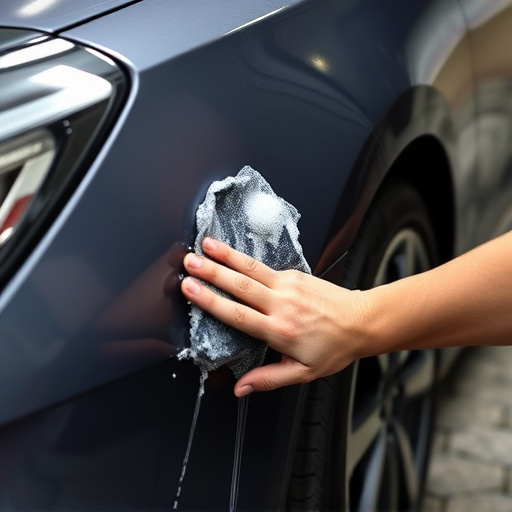
After successfully repairing your Mercedes carbon fiber trim with DIY methods, proper maintenance is key to ensuring longevity and a like-new appearance. Regular washing and waxing will protect the repair area from harsh weather conditions and UV rays, which can cause fading or yellowing over time. Use a dedicated car wash and soft cloths to avoid scratching the surface during cleaning.
Additionally, inspecting the repair regularly for any signs of damage, delaminating, or discoloration is crucial. Addressing issues early through touch-ups or repainting small areas with matching car paint services can prevent more extensive repairs down the line. Remember, a well-maintained repair will not only preserve the aesthetics of your Mercedes but also its overall value, making it less likely to require costly vehicle restoration in the future.
Repairing your Mercedes’ carbon fiber trim yourself is feasible with the right knowledge and tools. By following the step-by-step guide and maintaining proper care, you can achieve a professional-looking result. Remember, while DIY repairs offer cost savings, for complex or extensive damage, seeking expert assistance ensures optimal longevity and aesthetics for your Mercedes’ interior. With the right approach, you can tackle minor carbon fiber trim issues, enhancing both the vehicle’s appearance and your automotive DIY skills.